

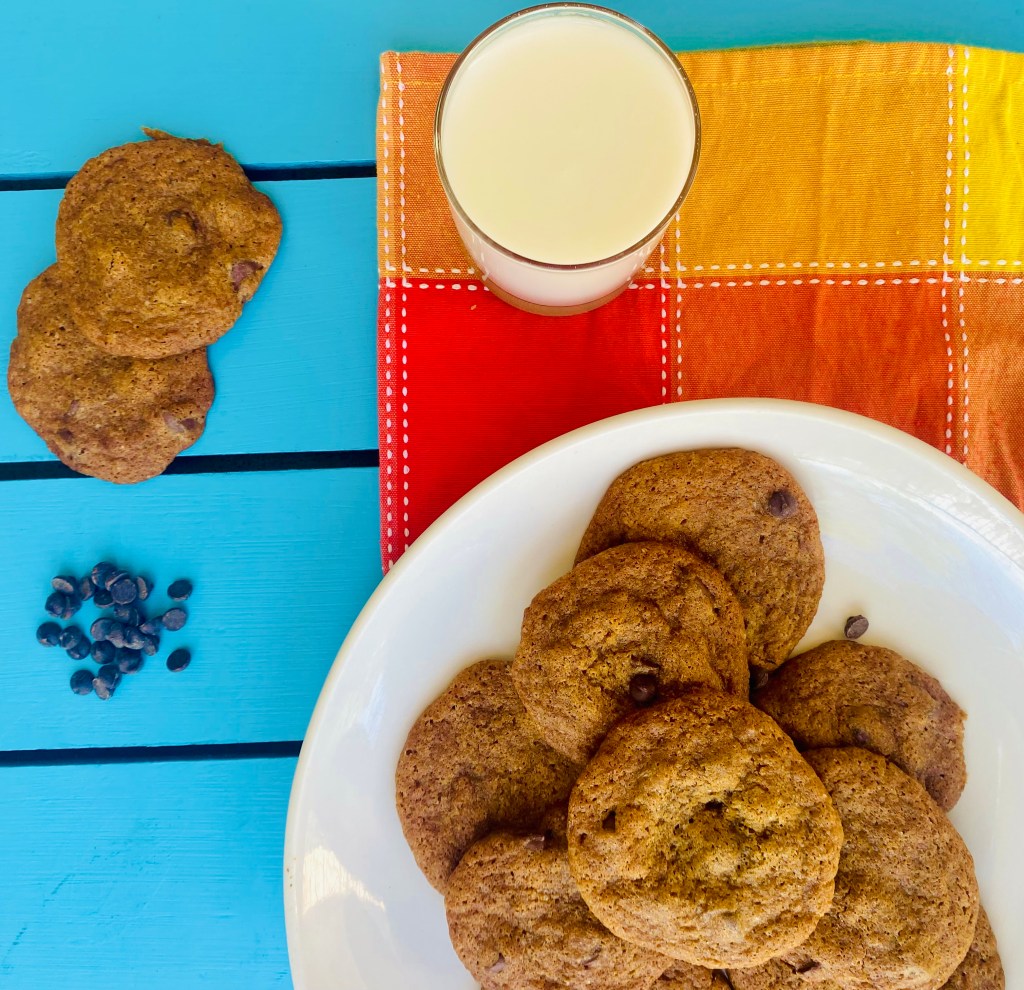
The most delicious chewy gluten free chocolate chip cookies you’ve had!

I’ve tried so many gluten free chocolate chip cookie recipes and most of them came out too cakey like and not thin and chewy like I liked them. So I decided to take an ok recipe I tried once and see if I could convert it into something I like, which is healthy and relatively healthy compared to typical recipes.
Turs out that omitting the various types of sugars (lots of recipes call for two types of sugar, usually white sugar and brown sugar or so) and using only brown sugar and molasses was the key to making the cookies more chewy with a richer flavor. I also added more butter than is typically used, while still keeping the same amount of flour.
And of course, using semi sweet chocolate chips compared to milk chocolate chips is much better for you as well. So I guess you could say that I came up with the healthiest chocolate chip recipe as is possible while still using normal sugar and not a sugar free substitute.
So without further ado…let us begin!

You will need:
- 1-3/4 cup gluten free flour
- 1 teaspoon salt
- 3/4 teaspoon baking soda
- 3/4 cup + 2 Tbsp butter (make sure it’s soft)
- 3/4 cup brown sugar
- 1/2 cup molasses
- 1 egg
- 1 tablespoon coconut milk or other milk of your choice
- 1 teaspoon vanilla extract
- 1 package chocolate chips
In a medium bowl, combine all the dry ingredients, making sure there are no lumps.
In a separate bowl, cream the softened butter and sugar with a hand mixer. Next add in the molasses and mix, then the egg, vanilla and milk. Continue to beat until completely mixed.
Next, slowly add the dry ingredients to the wet ingredients. Use a wooden spoon to mix as the dough will start getting very hard. Keep mixing, ensuring there are no lumps.
When the flour is fully incorporated, add the bag of chocolate chips and fold into the dough, taking care not to over mix.
When the chocolate chips are mixed in, put some plastic over the bowl and place in the fridge. The dough will need to cool for you to make the cookies. This part is key, so don’t overlook it. Even if you only put the dough in the fridge for 30 minutes it’s better than nothing, but try to shoot for 1-2 hours.
Once the dough is chilled, take out of the fridge and line a baking pan with parchment paper.
Preheat the oven to 375 degrees, and place a tablespoon of the mix onto a pan, spacing them a couple inches apart to leave room for spreading.
Put in the oven and bake for 8 to 10 minutes, depending on how chewy you want them. To see if the cookies are done, make sure there is only a small glossy top to the very center of the cookies, and not an entire circle. If an entire glossy circle is still there, that means the middle is still raw and will need to be cooked more .
I shoot for 8 minutes then decide from there if I want to cook them more.
Once the cookies are done, take them out of the oven and onto a space where they can cool. Do not remove them from the pan right away, as the cookies need to harden first before taking them off the tray or they will break.
Once the cookies are cooled, remove them from the tray and serve!

These cookies are delicious and chewy, no one will know that your secret ingredient is molasses!

Enjoy!

